Upcycled Merch Ideas: Give Old Tees a Second Encore
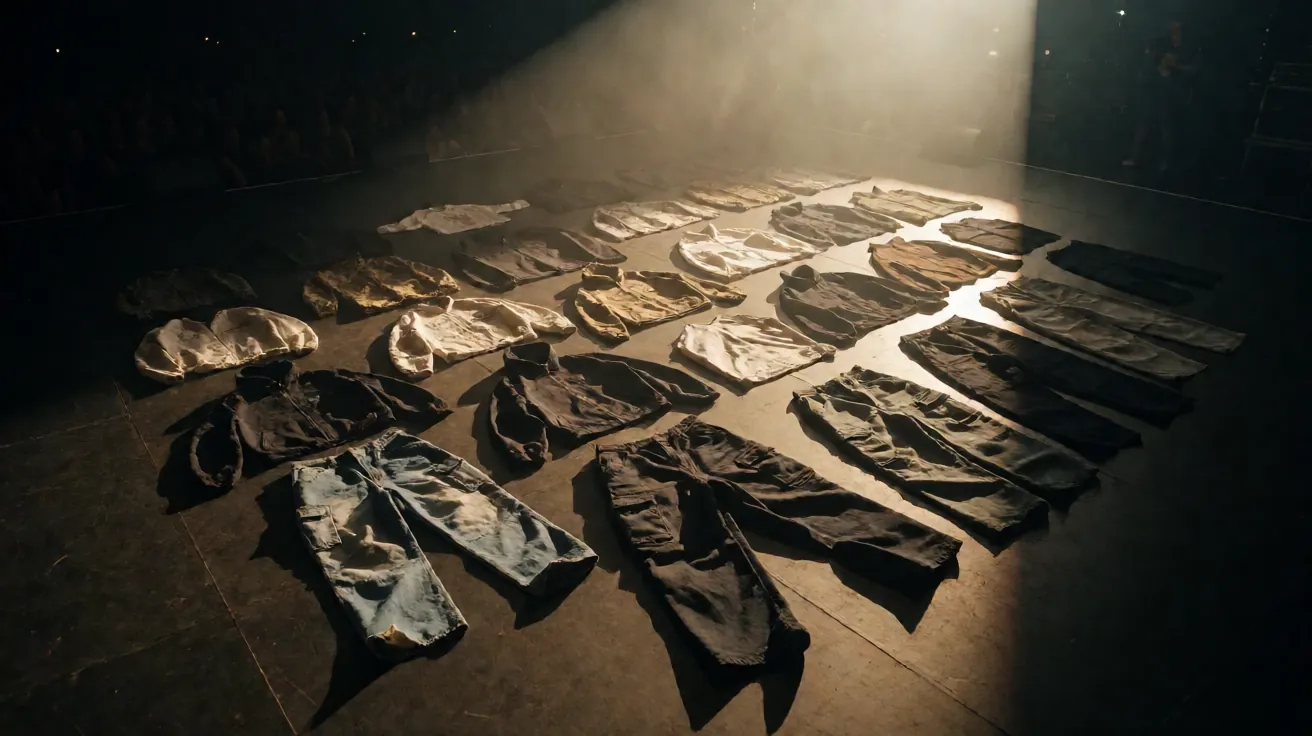
Every fan owns the drawer: faded tour tees too loved to discard, too worn to wear out. Upcycled merch ideas turn that drawer from guilt into a craft box, giving old prints a second encore as fashion, decor, and gifts. Upcycling beats discarding on every front: it preserves memories, costs almost nothing, and produces one-of-one pieces no store sells. All you need is scissors, basic stitching, and the willingness to cut a tee you stopped wearing.
No-Sew Upcycles Anyone Can Do Tonight
Start with scissors-only projects that take under an hour. A boxy old tour tee becomes a cropped festival top with one straight cut and a stretch of the hem to curl the edge. Cut the sleeves off for a gym or summer-gig muscle tee, keeping the graphic intact. Turn unworn tees into tote bags by cutting off sleeves and neckline, turning inside out, stitching or knotting the bottom, and you have a merch run bag. Fringe the hem of a long tee for a boho festival cover-up, or cut large back prints into wall patches and frame them.
Bleach patterns revive stained but beloved prints: twist, tie, and spot-bleach faded black tees into galaxy effects around the surviving graphic. Fabric paint pens let you outline cracking prints or add tour dates you attended, personalising the piece further. Iron-on patches cover small stains while adding texture. Each project keeps cotton out of landfill and keeps the memory in circulation, which is the entire point.
Next-Level Projects Worth Learning
Ready for bigger transformations:
- Memory quilt: square the best graphics from ten tees into a throw blanket of your gig history.
- Cushion covers: centre-chest prints fit standard cushions and survive daily use.
- Patchwork jacket: sew small prints onto a denim jacket for a battle vest of memories.
- Framed art: stretch a rare print over canvas for wall-worthy gig decor.
- Pet bandanas: sleeves and hems become matching merch for your dog.
When to Upcycle and When to Preserve
Not every tee should meet the scissors. Rare, signed, or first-tour prints in good condition gain value intact, so preserve those and upcycle the duplicates, freebies, and cracked prints instead. Wash and photograph the original before cutting, keeping the date-list back documented even if only the front gets reused. Share the results: upcycled merch photos inspire other fans and often get reposted by artists. And when the blank is finally threadbare, compost pure cotton scraps or use them as cleaning rags so nothing is wasted. Start new chapters with quality blanks built to become future projects, like YORD India heavyweight tees whose dense fabric cuts cleanly and holds stitches for craft afterlife. The show ends, but the shirt plays on.
Tools and Stitches: A Beginner Craft Kit
Upcycling needs less equipment than most tutorials suggest. Sharp fabric scissors are the single essential: clean cuts prevent fraying chaos and make every project look sharper. Add a seam ripper for harvesting prints, fabric glue for no-sew hems, iron-on hem tape for tote edges, and a pack of assorted needles with strong thread for hand sewing. Chalk markers map cut lines on dark fabric, and a cutting mat or cardboard sheet protects tables during big cuts.
Master three stitches and you can build anything: the running stitch for quick seams, the backstitch for load-bearing joins like bag bottoms, and the whipstitch for patch edges. Practice on a ruined tee before cutting the beloved one, and press every fold with an iron before stitching, since pressed fabric sews straighter and looks professional. Total kit cost stays under a single new tee, and each finished project teaches skills that compound. Six months in, you will eye every faded shirt as raw material rather than rubbish.